
Cooking Chicken Breasts in Air Fryer: Time and Temperature
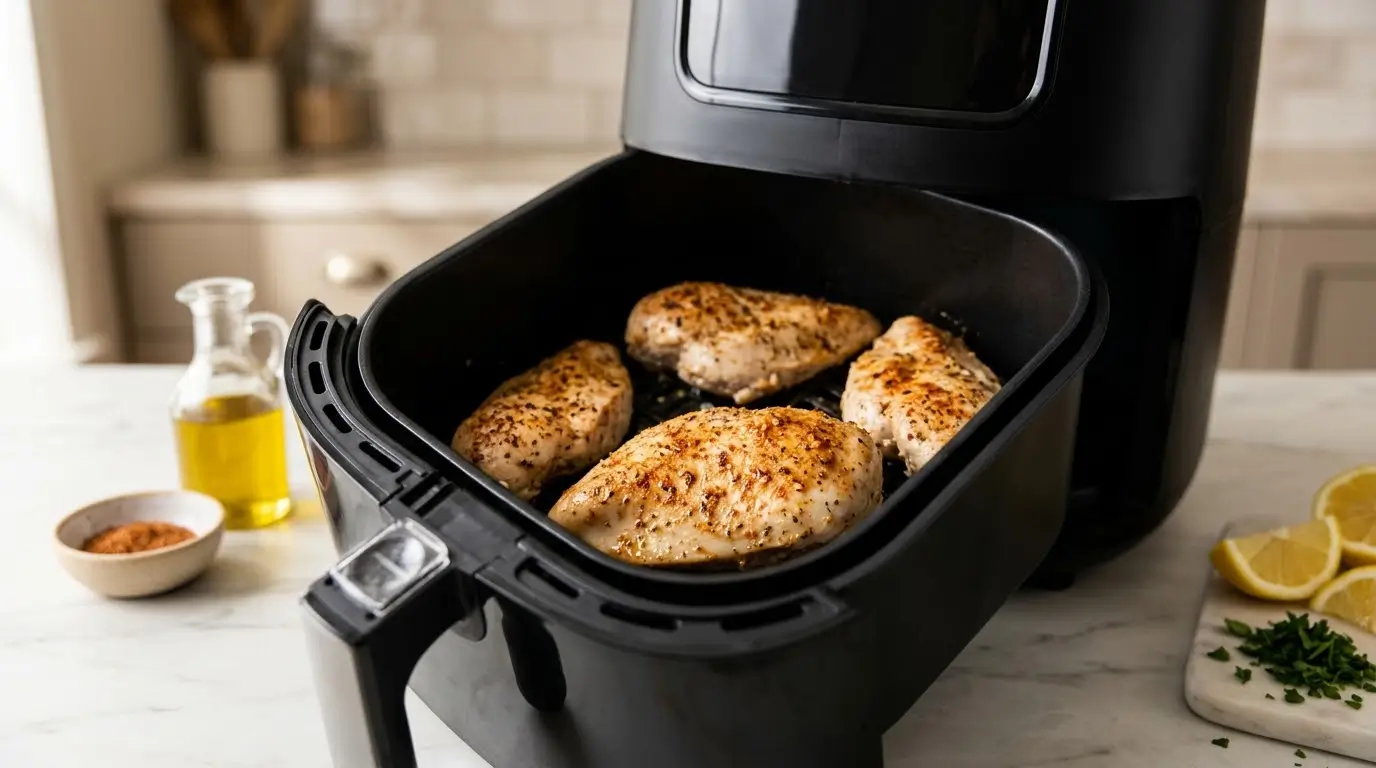
Why do chicken breasts sometimes turn out dry around the edges while the middle still needs more cooking? The secret to cooking chicken breasts in air fryer baskets is even thickness, enough space, and checking the internal temperature before the meat overcooks.
This recipe makes lightly browned, tender chicken with olive oil, garlic, paprika, and dried herbs. For boneless, skinless breasts weighing about 6 ounces each and flattened to ¾ inch thick, start with 12–16 minutes at 375°F (190°C), flipping halfway. Always confirm an internal temperature of 165°F (74°C).
Whether you need a quick dinner or protein for weekday lunches, cooking chicken breasts in air fryer baskets gives you plenty of serving options with a short ingredient list.
Table of Contents
Ingredients List
Yield: 4 servings
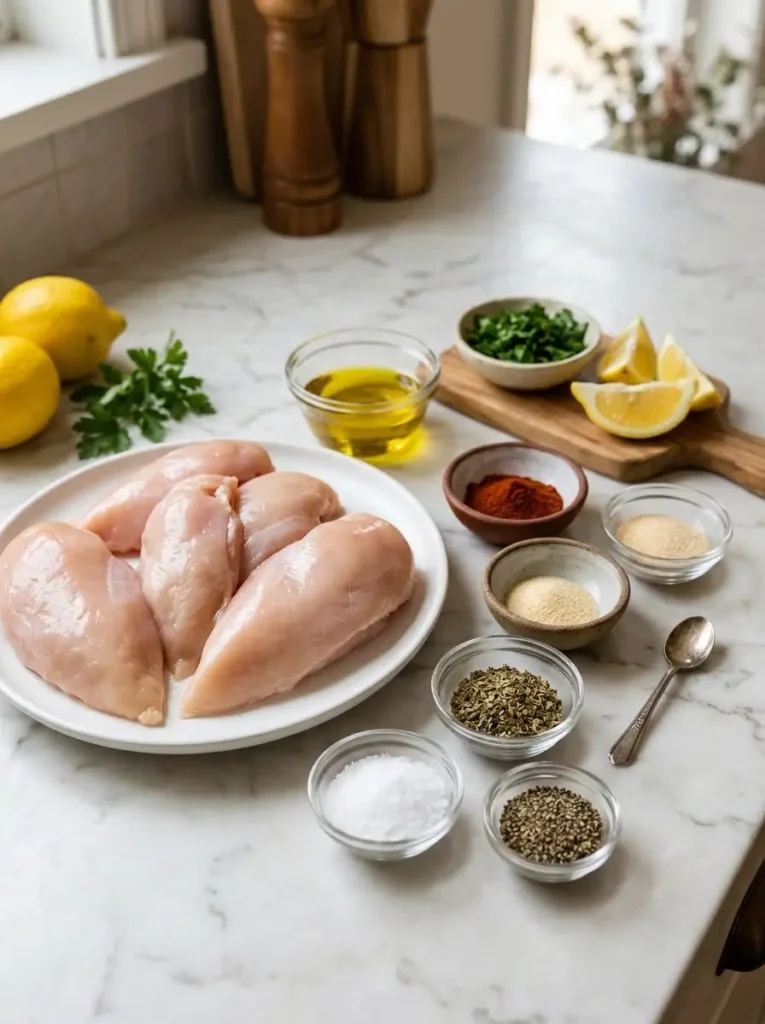
- 4 boneless, skinless chicken breasts: About 6 ounces (170 g) each, totaling 1½ pounds (680 g).
- 1 tablespoon olive oil: Helps the seasonings coat the meat.
- 1 teaspoon paprika: Use sweet paprika for mild flavor or smoked paprika for a smoky finish.
- 1 teaspoon garlic powder
- ½ teaspoon onion powder
- 1 teaspoon dried oregano
- ½ teaspoon fine table salt: Reduce if your chicken contains added salt or broth.
- ½ teaspoon ground black pepper
- Optional: Lemon wedges and 1 tablespoon chopped parsley for serving.
Avocado oil can replace olive oil. Substitute dried thyme for oregano, or use a salt-free Italian herb blend. Check packaged seasoning blends before adding extra salt.
Choose breasts of similar size. Very large pieces are easier to cook evenly when sliced horizontally into thinner cutlets, although those will need an earlier temperature check.
Timing for Cooking Chicken Breasts in Air Fryer
| Stage | Estimated time |
|---|---|
| Preparation | 10 minutes |
| Preheating | 3 minutes, or according to your manual |
| Cooking | 12–16 minutes |
| Resting | 5 minutes |
| Total | 30–34 minutes |
These totals assume one batch and separate preparation and preheating periods. If your appliance requires no preheating, follow its instructions and adjust the total accordingly.
When cooking chicken breasts in air fryer baskets, thickness matters more than weight alone. A thick, rounded breast can take longer than a wider, flatter piece of the same weight.
Use these times as starting points at 375°F (190°C):
| Thickness | Approximate cooking time | Start checking |
|---|---|---|
| ½ inch | 8–12 minutes | 8 minutes |
| ¾ inch | 12–16 minutes | 10–12 minutes |
| 1 inch | 16–20 minutes | 14 minutes |
Appliance performance and starting temperature affect these estimates. Every piece must reach 165°F (74°C), regardless of the timer.
If you need two batches, allow approximately another 12–16 minutes of cooking, plus any reheating time your appliance needs between batches.
Step-by-Step Instructions
Before cooking chicken breasts in air fryer baskets, have a meat thermometer, tongs, and a clean serving plate ready.
Step 1: Even Out the Thickness
Place the chicken between sheets of plastic wrap or inside a sturdy food-safe bag. Gently pound the thick ends with a meat mallet or rolling pin until the breasts are approximately ¾ inch thick.
Avoid flattening the tapered ends excessively. The goal is a reasonably even piece that cooks without leaving thin sections dry.
Pat the chicken dry with paper towels. Do not rinse raw chicken, and keep its juices away from salad ingredients and other ready-to-eat foods.
Step 2: Season Both Sides
Mix the paprika, garlic powder, onion powder, oregano, salt, and pepper in a small bowl.
Rub the chicken with the olive oil, then sprinkle the seasoning evenly over both sides. Press gently so it sticks.
No marinating is required. If preparing ahead, cover the seasoned chicken and refrigerate until you are ready to cook.
Step 3: Preheat and Arrange
Preheat the air fryer to 375°F (190°C) for about 3 minutes, unless the manufacturer gives different instructions.
Arrange the breasts in a single layer with small gaps between them. Do not stack or overlap the meat.
Four breasts may require two batches in a smaller appliance. Keep the second batch refrigerated while the first cooks.
Step 4: Cook and Flip
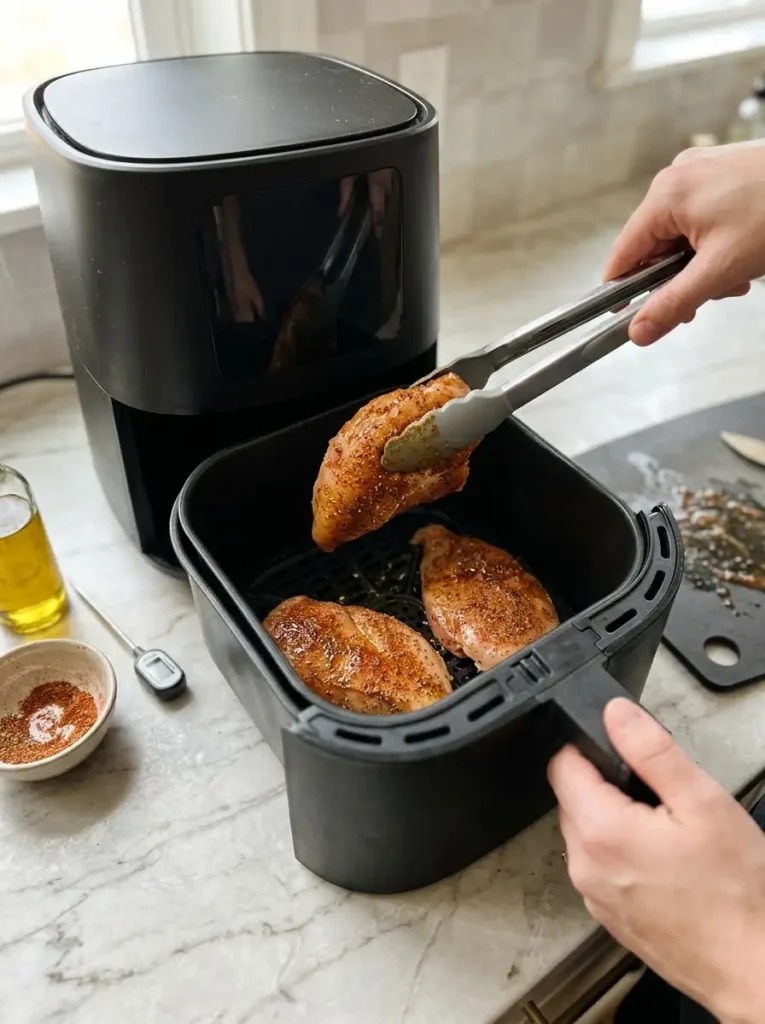
Air fry for 12–16 minutes, turning the breasts halfway through with tongs.
An important habit when cooking chicken breasts in air fryer baskets is checking early. Start measuring the temperature around 10–12 minutes for pieces prepared to the recipe’s thickness.
If necessary, continue cooking in 1–2-minute intervals. Remove individual pieces as they reach the safe temperature rather than waiting for the entire batch.
Step 5: Check the Internal Temperature
Insert an instant-read thermometer from the side into the center of the thickest part. Check each breast.
The CDC’s chicken safety guidance recommends cooking chicken to 165°F (74°C). Browning, clear juices, and cooking time cannot establish safe doneness on their own.
Reach that temperature before removing the chicken; do not depend on resting to finish cooking underdone meat.
Step 6: Rest and Slice
Transfer the cooked chicken to a clean plate and rest for 5 minutes.
Slice across the grain, then finish with optional lemon juice and parsley. Spoon any juices from the resting plate over the slices before serving.
Nutritional Information
Estimated per serving: one chicken breast, representing one-quarter of the recipe.
| Nutrient | Approximate amount |
|---|---|
| Calories | 240 kcal |
| Protein | 38 g |
| Carbohydrates | 2 g |
| Total fat | 8 g |
| Saturated fat | 1.5 g |
| Fiber | 0.5 g |
| Sugar | 0 g |
| Sodium | 380 mg |
Estimates use typical ingredient nutrition values for 680 g raw skinless chicken breast, the full tablespoon of oil, seasonings, and table salt, divided by four. Optional garnishes and sides are excluded.
Chicken brands, added saline, ingredient measurements, and oil remaining in the basket will change the actual values.
Healthier Alternatives for the Recipe
One advantage of cooking chicken breasts in air fryer baskets is that the seasoning is easy to adjust.
- For less sodium: Reduce the salt to ¼ teaspoon or omit it. Add lemon juice after cooking for brightness, and choose chicken without added saline.
- For less added oil: Use 2 teaspoons instead of 1 tablespoon. Spread it carefully; the spice coating may look slightly drier.
- For more vegetable variety: Serve smaller portions of chicken alongside generous portions of vegetables, beans, or whole grains.
- For ingredient restrictions: The base recipe contains no breadcrumbs or dairy. Check packaged spices and sauces for any ingredients you need to avoid.
Choose adjustments that suit your needs while keeping the same safe internal temperature.
Serving Suggestions
Cooking chicken breasts in air fryer baskets gives you a versatile main dish that works with simple sides.
Serve the sliced chicken with our easy air fryer carrots and rice for a colorful dinner. The carrots’ sweetness pairs well with the savory garlic and paprika seasoning.
A cucumber salad, steamed broccoli, or sautéed green beans adds freshness and color. Prepare your sides separately so the chicken has enough room to cook evenly.
For lunch, tuck chilled slices into wraps with lettuce and yogurt sauce. Alternatively, build grain bowls with quinoa, tomatoes, chickpeas, and a lemon dressing.
For a different flavor next time, replace the oregano with dried thyme or add a small pinch of chili flakes. Add sweet sauces near the end of cooking or after cooking to reduce scorching.
Common Mistakes to Avoid
The most common problems when cooking chicken breasts in air fryer baskets come from uneven sizing or waiting too long to check doneness.
- Leaving the thick end untouched: Flatten it so the center and edges finish closer together.
- Overcrowding: Cook in batches when necessary to leave room for circulating air.
- Using too much oil: A thin coating is enough; oil should not pool around the meat.
- Following the timer without checking: Start early and measure every breast.
- Expecting breaded crispness: Skinless, unbreaded chicken develops a seasoned surface rather than a crunchy crust.
- Reusing the raw-chicken plate: Transfer cooked meat to a clean plate with clean utensils.
Keep notes on your appliance’s timing once you find the right range for your usual chicken size.
Storing Tips for the Recipe
Cooking chicken breasts in air fryer baskets can simplify meal preparation, provided leftovers are cooled and stored promptly.
Refrigerate: Divide leftovers into shallow containers and refrigerate within 2 hours, or 1 hour when the surrounding temperature exceeds 90°F (32°C). Do not leave chicken out until completely cool.
Keep the refrigerator at 40°F (4°C) or below and use cooked chicken within 3–4 days, following the FoodSafety.gov cold food storage chart.
Freeze: Wrap portions tightly and place in freezer-safe containers. Label with the date. Aim to use within 2–3 months for quality. The government storage chart lists a broader quality range of 2–6 months for frozen cooked poultry. Keep frozen at 0°F (−18°C) or below.
Reheat: Thaw frozen portions in the refrigerator. Air fry at 350°F (175°C), checking after several minutes and turning as needed. Thickness affects reheating time.
Check that leftovers reach 165°F (74°C) throughout before serving, as recommended in FoodSafety.gov’s leftover safety guidance.
Conclusion
Cooking chicken breasts in air fryer baskets is straightforward when you flatten the thick ends, season evenly, and leave space around each piece. Start with 375°F (190°C), check early, and confirm 165°F (74°C) before resting.
Try this recipe for dinner, then leave a comment with your favorite sides and the timing that worked in your air fryer.
FAQs
Is 375°F or 400°F better for chicken breasts?
This recipe uses 375°F (190°C) to give the center time to cook before the exterior gets too dark. Cooking at 400°F (200°C) can work, but requires earlier checks, especially with thin pieces.
Can I use frozen chicken breasts?
For cooking chicken breasts in air fryer baskets using this recipe’s timing, thaw them first in the refrigerator. Frozen breasts need different timing, and pieces frozen together should not be treated as separate, evenly spaced portions.
Why did my chicken turn out dry?
Uneven thickness and cooking past the required temperature are common causes. Flatten the thick ends, check each piece early, and remove it once the center reaches 165°F (74°C).
Can I skip the oil?
Yes, although the seasonings may adhere less evenly and the surface may look drier. Check your appliance’s instructions for preventing sticking.
Do I need to flip the chicken?
For this recipe, flip halfway through to encourage even cooking and browning. Use tongs to turn whole breasts; shaking the basket is better suited to smaller foods.
Link note: The carrots link is the previously supplied internal URL; your site blocked verification. No unconfirmed cauliflower or fries URLs have been added.