
How to Cook Frozen Shrimp in the Air Fryer
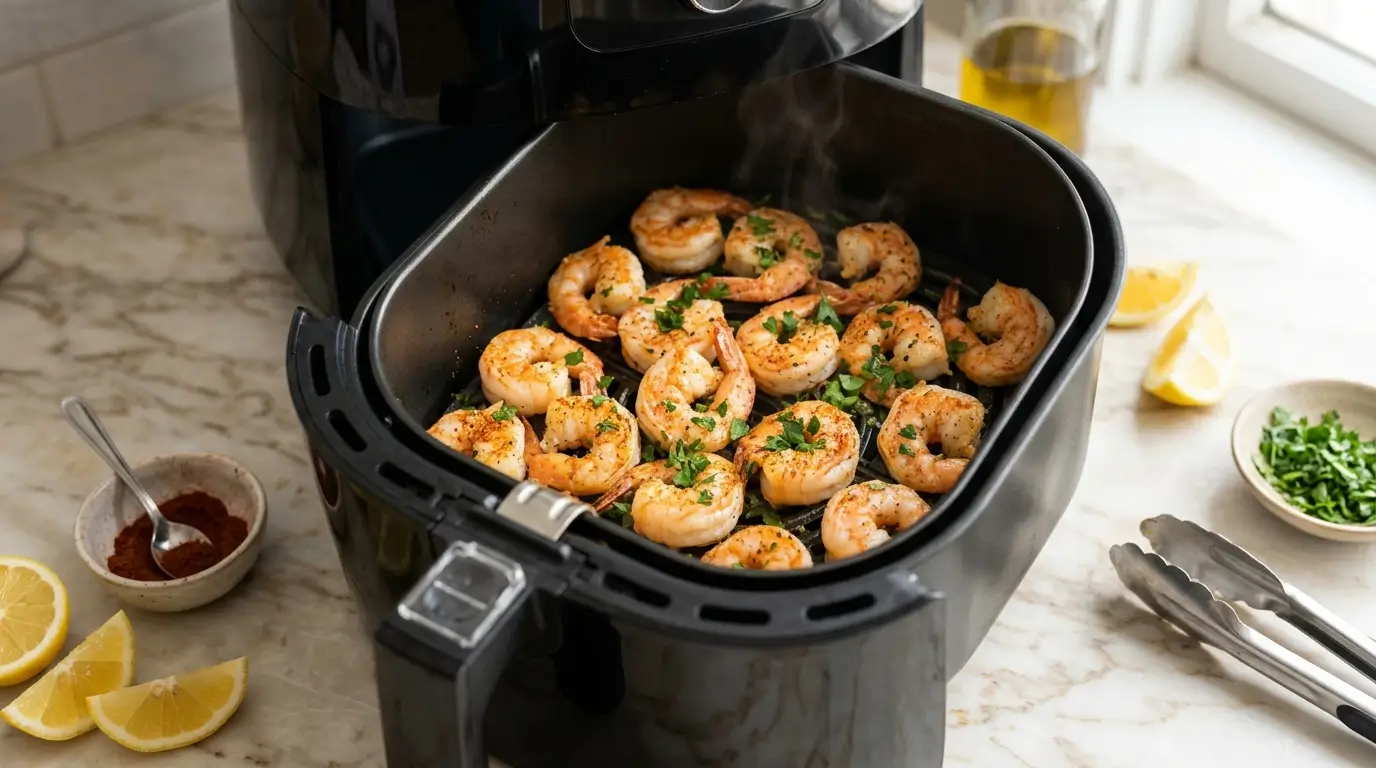
Can shrimp containing about 20 grams of protein per 100 grams go straight from freezer to dinner without thawing? Yes! This air fryer frozen shrimp recipe turns a freezer staple into juicy, garlic-seasoned bites with minimal preparation. Raw shrimp nutrition data lists approximately 85 calories per 100 grams before added oil. [1]
For large, peeled raw shrimp, start with 8–10 minutes at 400°F (200°C), checking doneness before serving. Size, ice coating, and appliance performance affect timing. [2] Add lemon, prepare a simple side, and you have an easy seafood dinner.
Table of Contents
Ingredients for Air Fryer Frozen Shrimp
Makes four servings.
- 1 pound (454 g) frozen raw shrimp: Peeled, deveined, individually frozen, approximately 31–35 per pound; tails optional.
- 1 tablespoon olive oil: Adds richness and helps seasonings cling. Substitute avocado oil.
- 1 teaspoon garlic powder: Delivers savory flavor without fresh garlic scorching.
- ½ teaspoon smoked paprika: Adds gentle smokiness; sweet paprika works too.
- ¼ teaspoon fine salt: Omit if your shrimp already contain added salt.
- ¼ teaspoon black pepper: For mild warmth.
- 1 tablespoon lemon juice: Added after cooking for brightness.
- 1 tablespoon chopped parsley: Optional finish.
Choose plain, unbreaded shrimp. This method targets raw shrimp; precooked and breaded products need different instructions.
Timing
- Preparation: 5 minutes, including preheating.
- Cooking: Approximately 8–10 minutes per batch.
- Total: Approximately 13–15 minutes for one batch.
For air fryer frozen shrimp, allow extra time when cooking multiple batches. Skipping a separate thawing stage simplifies preparation, but doneness determines when cooking ends.
Step by Step Instructions for Air Fryer Frozen Shrimp
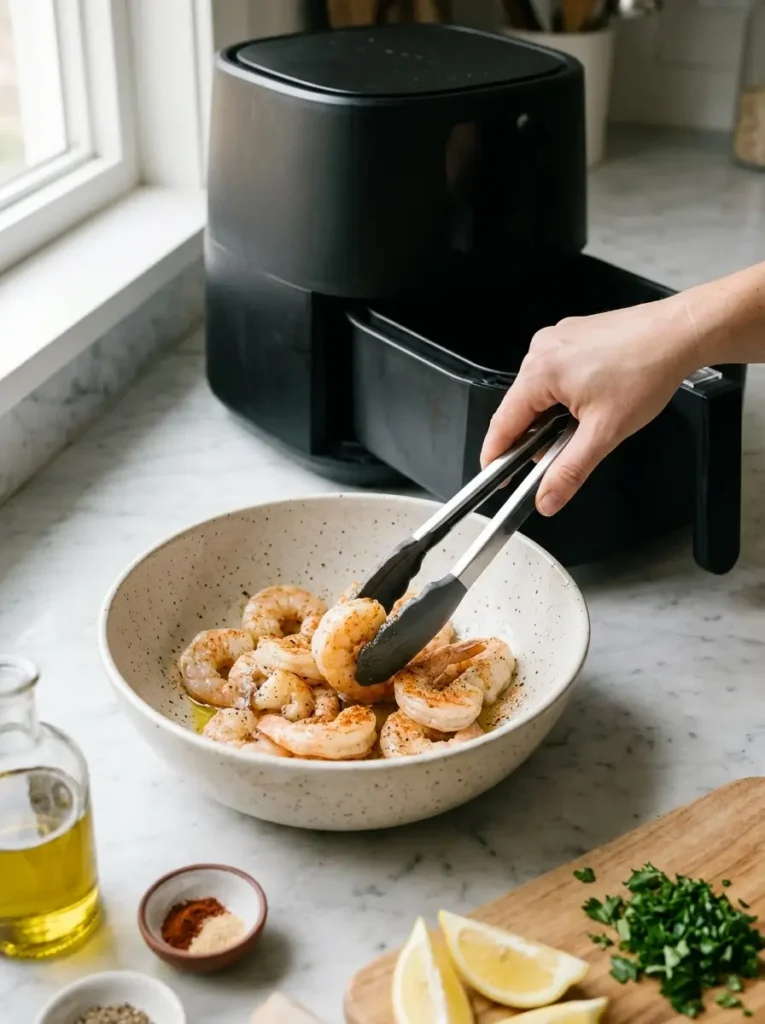
Step 1: Preheat and Check the Shrimp
Preheat to 400°F (200°C) according to your appliance instructions. Check the package for size and whether the shrimp are raw. Brush away loose surface ice. If frozen into a solid block, thaw safely in the refrigerator until separable before proceeding.
Step 2: Start Cooking Unseasoned
Arrange shrimp in a single layer with small gaps. Cook for 3 minutes to loosen the ice glaze. Shake the basket and separate any pieces sticking together. If substantial water collects, carefully empty it according to your appliance’s handling instructions.
Step 3: Add the Seasonings
Transfer shrimp to a bowl. Toss with oil, garlic powder, paprika, salt, and pepper, then return to the basket. Keep the layer loose; cook in batches when necessary. Wash the bowl and utensils that contacted partially cooked shrimp before reusing them.
Step 4: Finish and Check Doneness
Cook another 5–7 minutes, shaking halfway through. Begin checking at eight minutes total. Insert a thin-tip thermometer sideways into the thickest part of several large shrimp: aim for 145°F (63°C). Flesh should be firm, pearly, and opaque. Add one minute increments if needed. [3]
Step 5: Finish with Lemon
Transfer immediately to a clean serving dish. Toss with lemon juice and parsley. Taste before adding more salt. Serve promptly while the shrimp are tender, with extra lemon wedges for anyone who enjoys a brighter finish.
Nutritional Information
Estimated per serving, using one-quarter of the recipe and all added oil:
| Nutrient | Approximate amount |
|---|---|
| Calories | 130 kcal |
| Protein | 23 g |
| Total fat | 4 g |
| Saturated fat | 0.6 g |
| Carbohydrates | 1 g |
| Fiber | 0.3 g |
| Sugars | 0.2 g |
| Sodium | 285 mg |
| Cholesterol | 183 mg |
Calculations use raw shrimp composition plus estimated ingredient contributions. Brined shrimp can contain considerably more sodium; check your package label. Sauces and sides are excluded. [1]
Healthier Alternatives for the Recipe
For less sodium, choose shrimp without added salt and omit the recipe’s salt. Boost flavor with lemon zest, paprika, and parsley.
To reduce added fat, use two teaspoons of oil instead of one tablespoon. That removes approximately ten calories per serving.
The basic recipe is dairy free and contains no gluten ingredients; check seasoning labels when needed. For a fiber rich meal, pair shrimp with brown rice, beans, or vegetables.
Serving Suggestions
Serve air fryer frozen shrimp in warm tortillas with shredded cabbage, avocado, and lime. Keep spicy sauce separate for mixed preferences.
For lunch, spoon shrimp over quinoa with cucumber and tomatoes. Prefer a lighter plate? Try lettuce cups with crunchy slaw.
For a family dinner, serve alongside roasted vegetables or explore more seafood and side-dish ideas at Air Fryer Recipes.
Common Mistakes to Avoid
- Overcrowding: Overlapping shrimp cook unevenly. Leave space or divide the batch.
- Ignoring size: Smaller shrimp finish sooner; jumbo shrimp may need longer.
- Overcooking: Check early and remove shrimp once done.
- Seasoning heavy ice: Let the glaze loosen first so spices cling better.
- Confusing raw with cooked: Read the label instead of relying only on color.
Storing Tips for the Recipe
Refrigerate leftover air fryer frozen shrimp in shallow, covered containers within two hours, or one hour above 90°F (32°C). Keep refrigerated at 40°F (4°C) or below and use within 3–4 days. [4]
Enjoy properly chilled shrimp cold in salads, or reheat leftovers to 165°F (74°C). [5] For preparation ahead, mix the dry seasonings separately and keep shrimp frozen until cooking.
Conclusion
Air fryer frozen shrimp makes a flexible meal with pantry seasonings, little preparation, and no separate thawing for individually frozen pieces. Give it a try, then share your shrimp size, cooking time, and favorite serving idea in the comments!
FAQs
Do I need to thaw frozen shrimp first?
No, provided they are individually frozen and separable.
Can I use precooked frozen shrimp?
Yes, but follow package reheating instructions; this raw shrimp timing can overcook them.
Can I cook breaded frozen shrimp this way?
Follow the package directions instead. Coatings need different handling.
Why are my shrimp watery?
A thick ice glaze or crowded basket can leave excess moisture. Loosen the glaze first and maintain a single layer.
Can I double the recipe?
Yes. Double ingredients, cook in separate batches, and check each batch early.